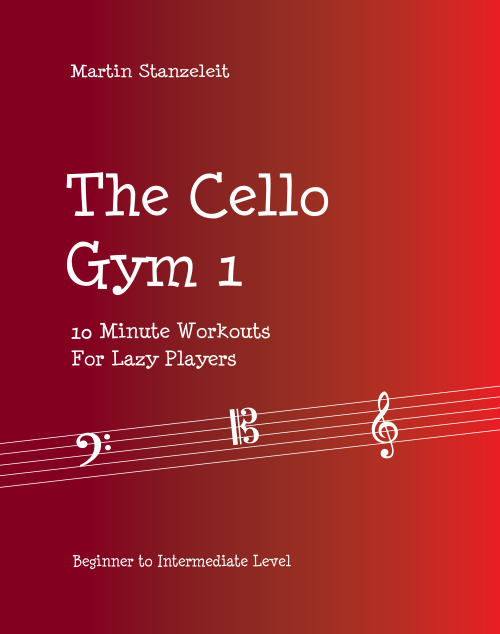
The Cello Gym
10 Minute Workouts For Lazy Players
by Martin Stanzeleit
About The Cello Gym
We have all been told by our teachers to practise more scales and other technical stuff.
We all took that advice to our hearts, we ran into the next music store where we bought many books full of
exercises – and we all got lost because of the sheer volume of material.
Well, let me help you. This book takes the easy approach.
You don’t have to think much about anything.
Just pick a key and make it your key of the month.
For one month, every time you practise (hopefully every day?),
you will start by playing all scales belonging to that key at a given tempo.
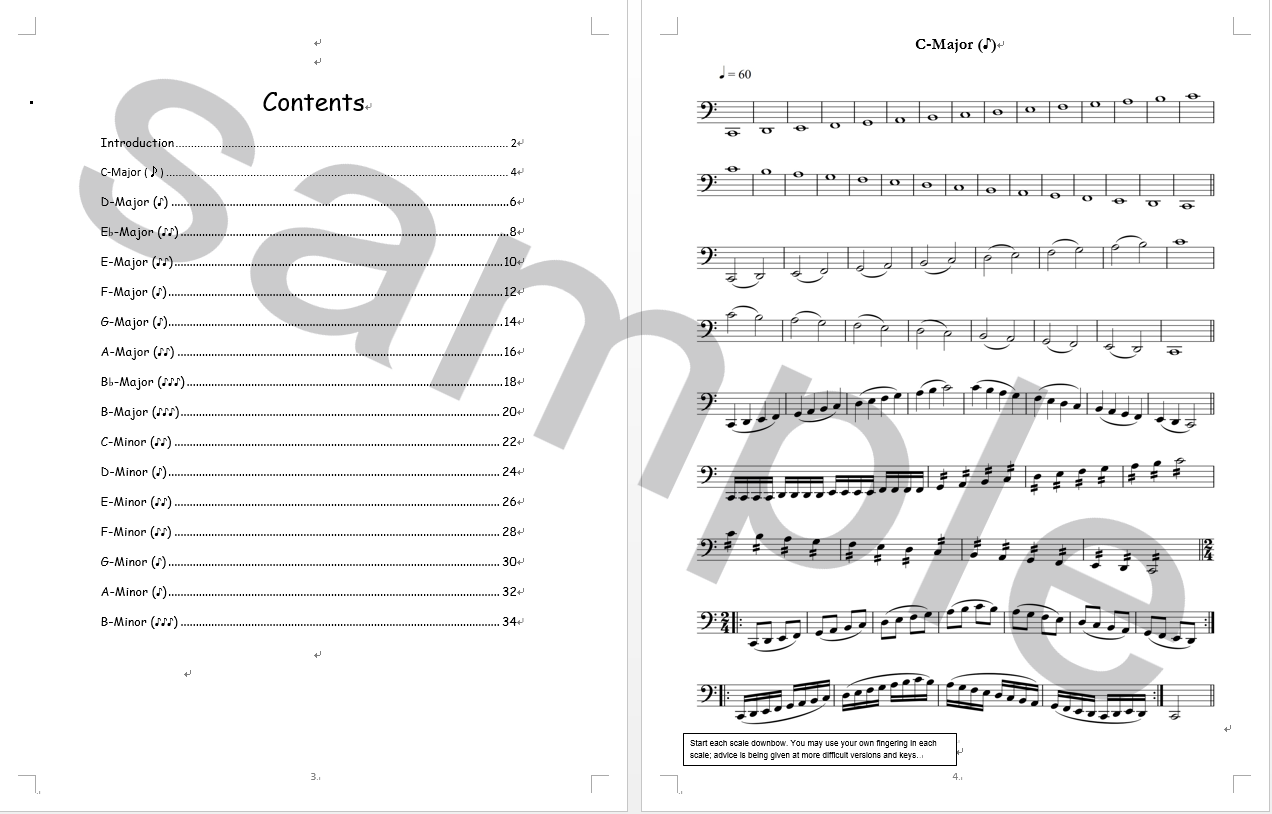
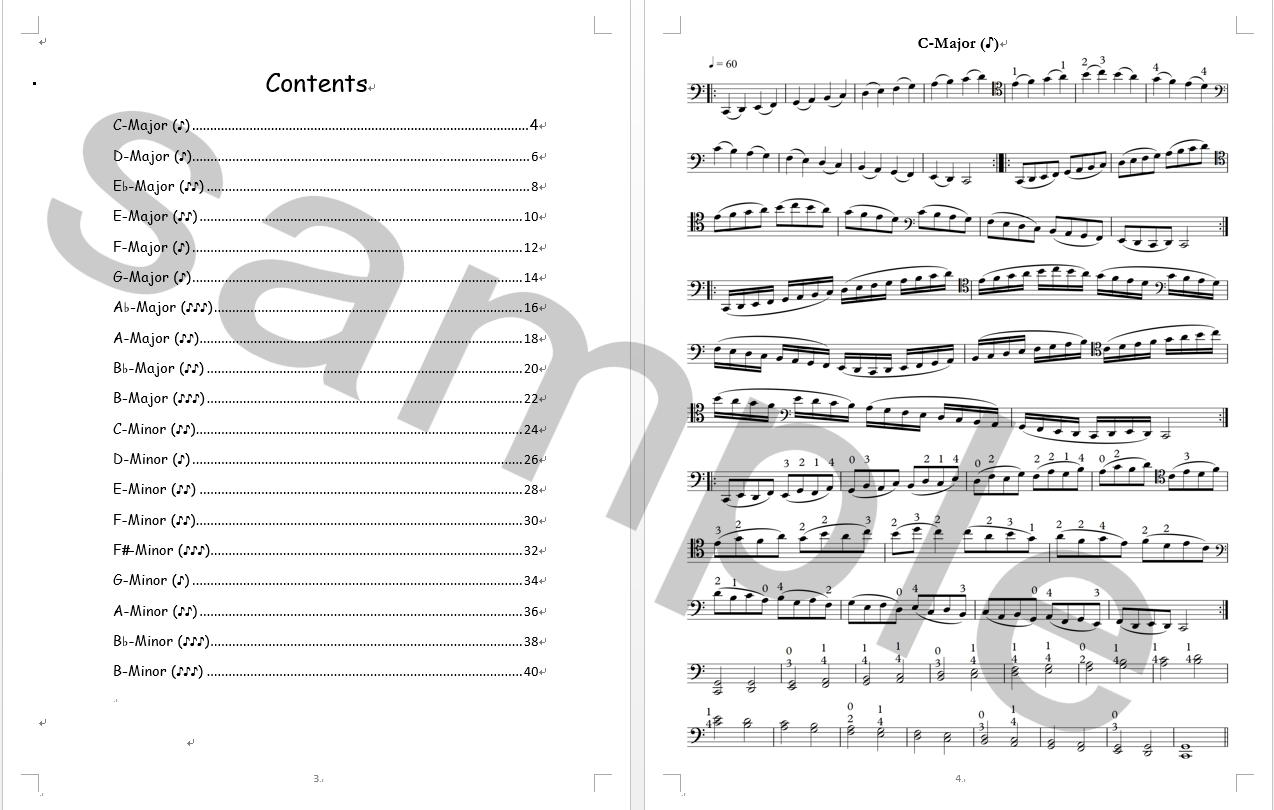
For your orientation, every key has been rated from easy (♪) to difficult (♪♪♪).
That’s it! Sooner than later you will see progress.
You will find it much easier to play repertoire pieces.
You’ll be able to concentrate on the music.
You’ll be free to play what you really want. You’ll have more fun.
JUST STICK TO IT!!!
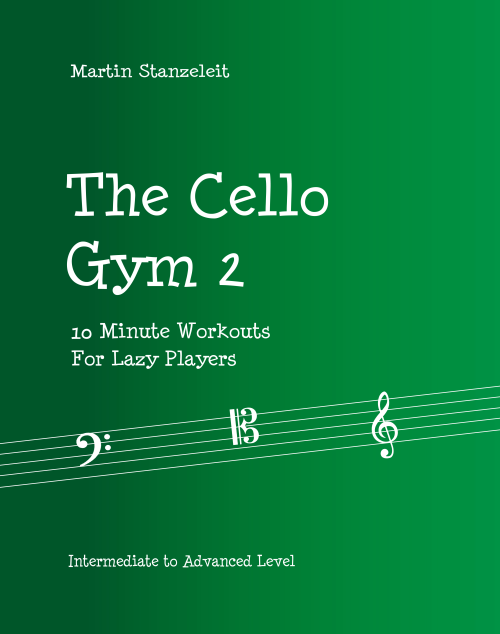
Vol.2 is for intermediate to advanced players. You should know how to use the thumb (I’m talking about the left hand, of course!), and have some experience playing double stops.
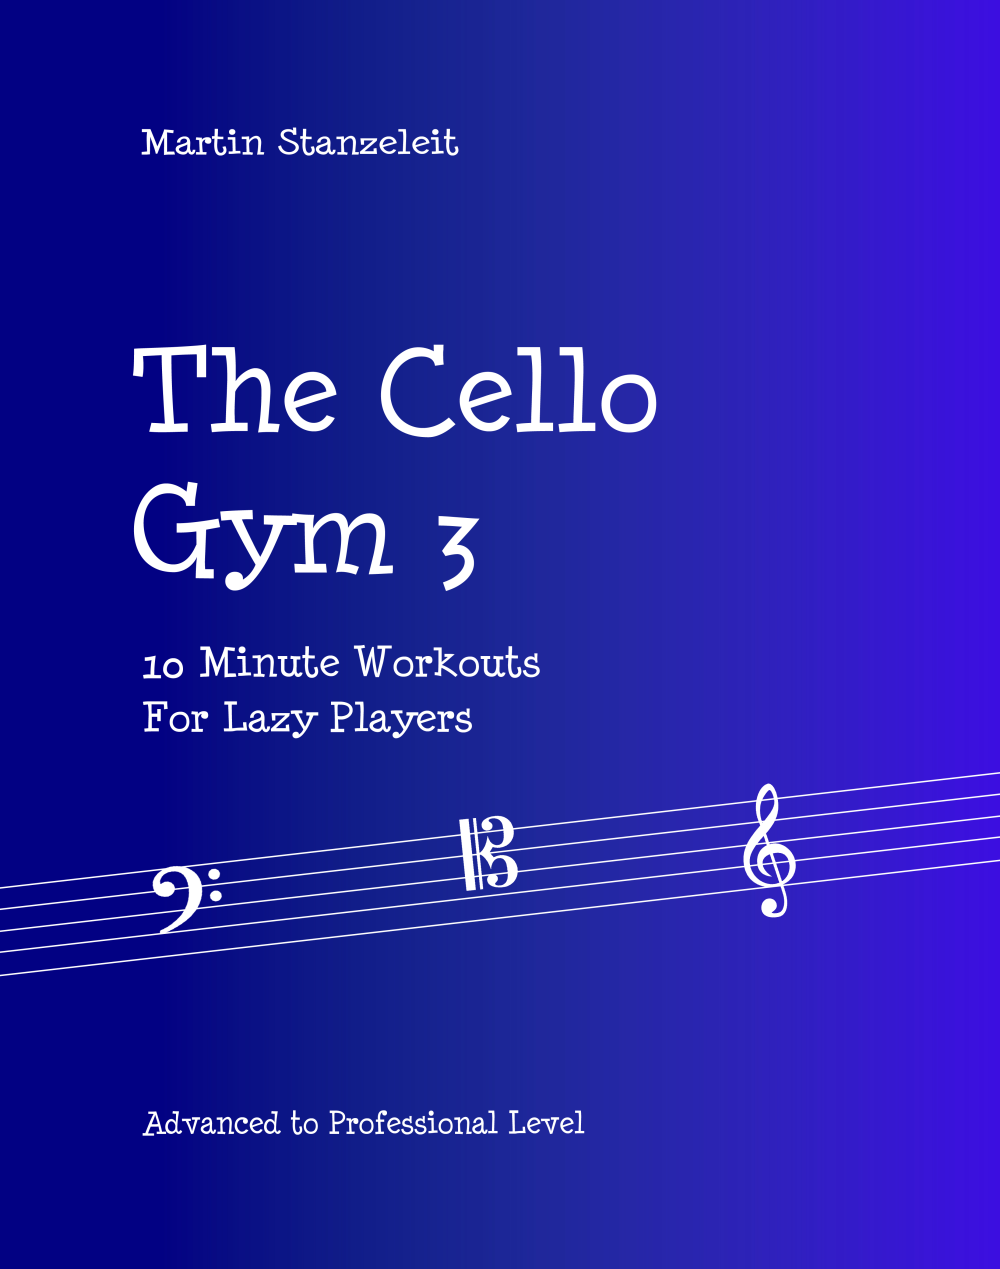
>>>Vol.3
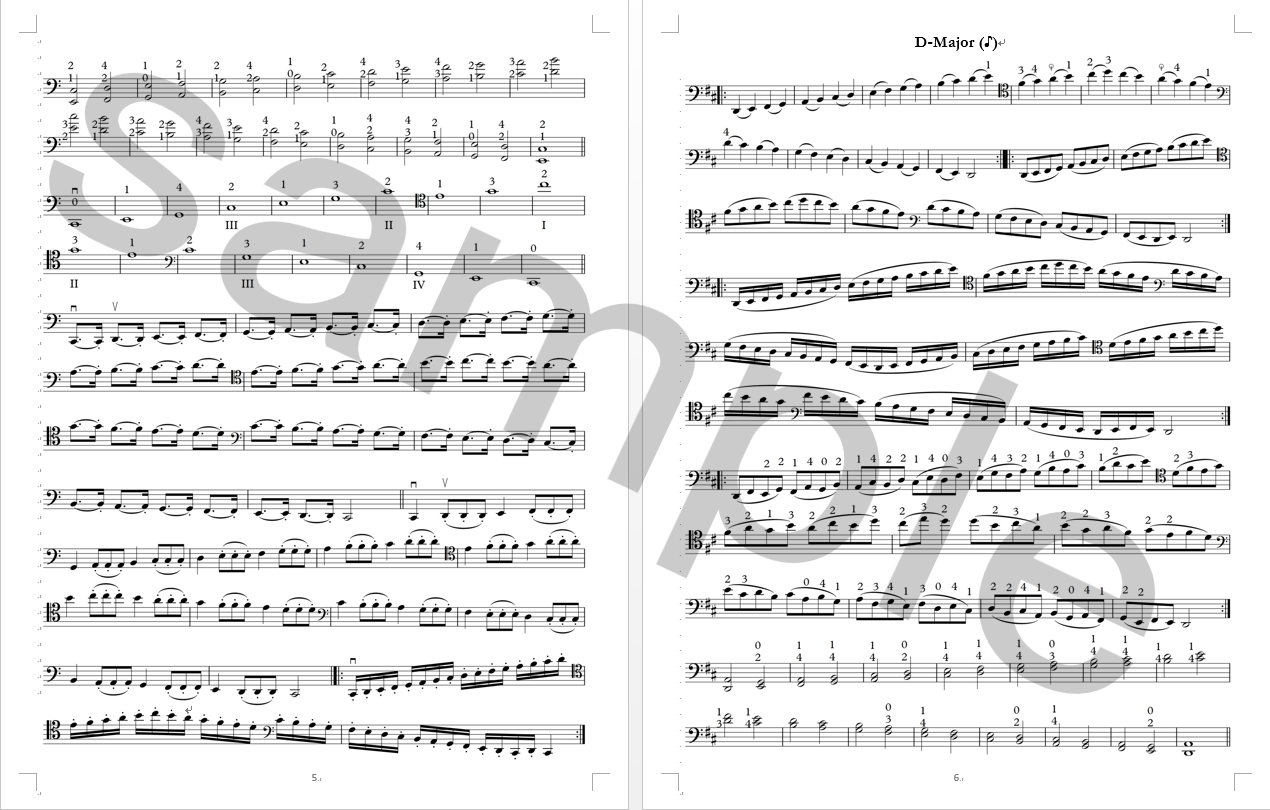
Welcome to the third part of The Cello Gym! Thank you for being still with me. And thanks for joining the program in case you are new. This book is for advanced to professional players. All keys are covered; however, enharmonically equivalents are left out. Fewer key signatures are preferred for better readability. The Cello Gym is a simple method. The idea is to practise different versions of the same scale for about 10 minutes every day – without thinking much, without stopping much, without getting distracted by tons of material. Further, these workouts are great for warming up, or for getting in shape in case you have only limited time to practise.
Here is how to use The Cello Gym 3:
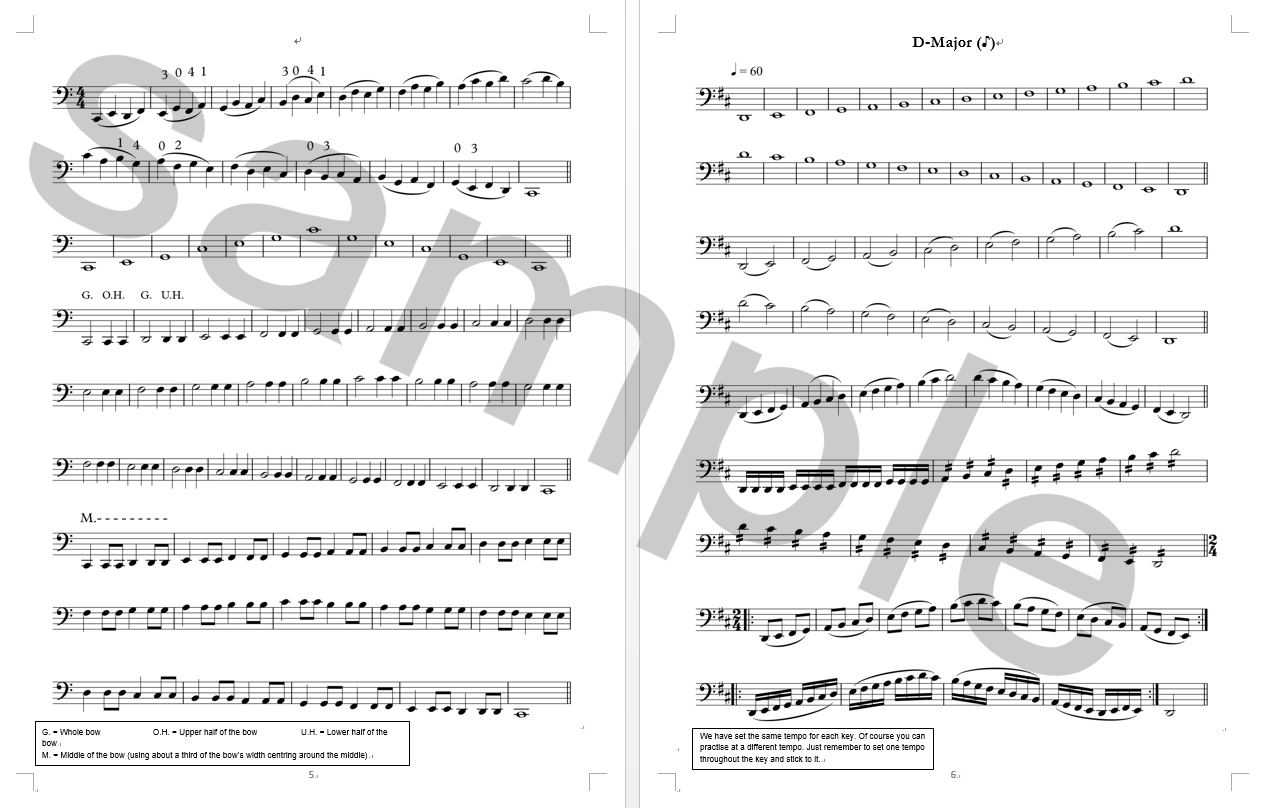
①Pick a key
②Set your metronome (the pace is set to 60 b.p.m. – even without a metronome, you can use the second hand of a clock to guide you)
③Play all two pages of scales referring to the same key, repeating where indicated
The routine should take about 10 minutes. It might be a good idea to pick a key or a number of keys that correspond to the piece of repertoire you are working on. If you are working on the Dvorak Concerto, practise B-Minor, G-Major and B-Major. If you are working on the Schumann Concerto, pick A-Minor and F-Major. And if you are working on the Chopin Sonata, pick G-Minor, D-Minor, B-Major and maybe G-Major. You shouldn’t jump between keys too frequently. It makes sense to stick with a key (or a number of keys) for some time. I always feel the need to be completely familiar with the key of the piece I’m working on, to explore its sound and character. After all, the great composers had a certain idea how to make their music sound – why was the Dvorak Concerto written in B-Minor? Why did Beethoven choose C-Major for his Triple Concerto? And, last but not least, don’t shy away from keys that are used less frequently! Please feel free to replace my fingerings with your own. The ones printed in this book merely serve as a suggestion. At your level, you should have your own taste, like how much to incorporate the thumb, how much to use the third and fourth fingers in higher positions and so on. And, last but not least: DON’T GIVE UP!!! Stick to this method and you will see improvement!
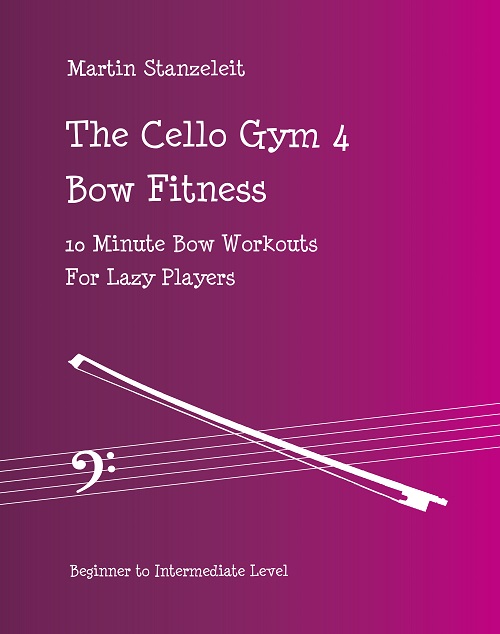
>>>Vol.4 Bow Fitness
Contents
1. Exploring the Whole Width of the Bow
2. Cultivating your Legato
3. Long and Short Strokes
4. Phrasing Exercise
5. Triplets
6. Across the Strings, Upwards
7. Across the Strings, Downwards
8. Up and Down across the Strings
9. Across Three Strings
10. Across the Lower Three Strings
11. Across Four Strings, Part 1
12. Across Four Strings, Part 2
13. Portato Exercise
14. Dotted Rhythm Exercise
15. Driving Rhythm Exercise
(based loosely on Grieg's Holberg Suite)
16. Triplets Across Two Strings
17. Portato and Staccato Exercise
18. Legato Across Strings
19. Quickly Across Two Strings
20. Triplet Rhythm Exercise
21. Portato/Staccato and Legato Combined
22. Across Four Strings, Part 3
23. Spiccato Exercise
24. Flying Spiccato Exercise
Welcome to the fourth volume of the Cello Gym Series: Bow Fitness Training! The concept of how to train and improve your bowing technique introduced inthis book is not entirely new. At the end of the 19th century, the Czech violinistOtokar Ševčik published his “School of Bowing Technique”, which quicklybecame a staple of bowing exercises. The French cello teacher Louis Feuillard transcribed this method for the cello,and since then, every cellist aspiring to master his or her bowing technique comesinto touch with Ševčik’s method at some point in his or her life. However useful Ševčik’s exercises are I have yet to meet a cellist who is notfrustrated in the face of the sheer volume of material. Finding the right exercisesand tailoring them to your daily practise schedule is a major challenge. And thusthe idea developed to take Ševčik’s concept as a basis for a new method.This book takes a very practical approach. As long as you stick to the giventempo, one workout should take about 10 minutes. At the beginning of eachworkout, there is a short piece that you should play once in order to familiarizeyourself with the music. After that, there are a number of variations to practisethe bow technique in question. To improve your bowing, you need to be patient. Changes and improvements arenot happening overnight. Some exercises can be a little tedious. Developing agood spiccato can take years. Be patient and don’t give up! Tackle one workoutat a time, and don’t overdo it. Stay relaxed throughout. If your arm hurts, stopplaying and try to find the reason. Do not hold the bow tightly, rather let it rest onthe strings and guide it.
-
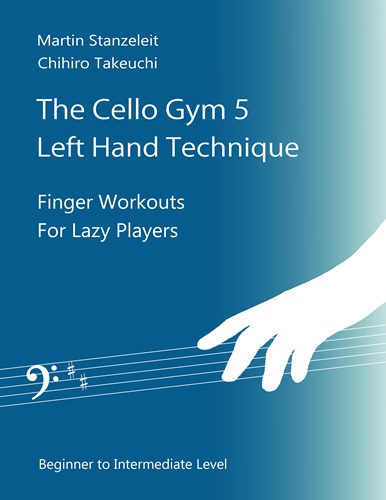
beginner to intermediate
Sample.1,Sample.2
Paperback $15
Available at amazon in your area
 amazon.uk
 amazon.com
 amazon.de
 amazon.fr
 amazon.es
 amazon.it
 amazon.jp
 amazon.ca
 amazon.nl
 amazon.br
 amazon.mx
 amazon.au
 amazon.in
-
intermediate to advanced
Sample.1, Sample.2
Paperback $15
Available at amazon in your areaamazon.uk
amazon.com
amazon.de
amazon.fr
amazon.es
amazon.it
amazon.jp
amazon.ca
amazon.nl
amazon.br
amazon.mx
amazon.au
amazon.in
-
advanced to professional
Sample.3
Paperback $15
Available at amazon in your areaamazon.uk
amazon.com
amazon.de
amazon.fr
amazon.es
amazon.it
amazon.jp
amazon.ca
amazon.nl
amazon.br
amazon.mx
amazon.au
amazon.in
-
beginner to intermediate
Sample.1
Paperback $15
Available at amazon in your areaamazon.uk
amazon.com
amazon.de
amazon.fr
amazon.es
amazon.it
amazon.jp
amazon.ca
amazon.nl
amazon.br
amazon.mx
amazon.au
amazon.in
-
beginner to intermediate
Paperback $15
Available at amazon in your areaamazon.uk
amazon.com
amazon.de
amazon.fr
amazon.es
amazon.it
amazon.jp
amazon.ca
amazon.nl
amazon.br
amazon.mx
amazon.au
amazon.in